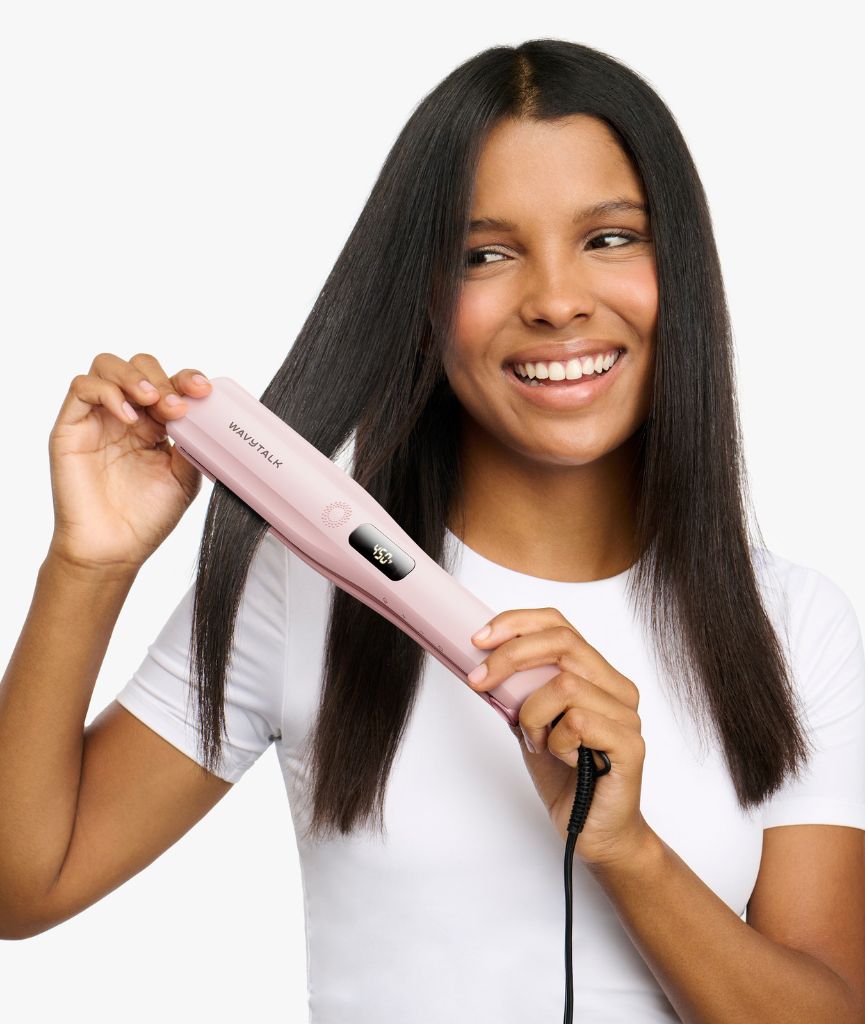


If you want bold waves, fuller-looking hair, and long-lasting texture without spending too much time styling, a Hair Crimping Iron can be one of the easiest tools to use. The Wavytalk Power Wave Hair Crimping Iron is designed to create sculpted waves, volume, and shine in a single pass, making it a practical choice for everyday styling, party looks, vacation hair, and quick volume refreshes.
Unlike a curling iron, which wraps hair around a barrel to create curls, a crimping iron presses the hair between heated plates to create a wave pattern. The result is usually more textured, more voluminous, and easier to build into different hairstyles. Whether you want soft mermaid waves, root lift, a textured ponytail, or a bold statement look, this guide will show you how to use the Power Wave step by step.
What Is a Hair Crimping Iron?
A hair crimping iron is a heat styling tool that creates waves, texture, and volume by pressing sections of hair between heated plates. Traditional crimpers often created a very tight zig-zag texture, but modern crimping tools can create softer, larger, more wearable waves.
The Wavytalk Power Wave Hair Crimping Iron is made for a more modern finish: bold, sculpted waves that still look soft and touchable. Instead of creating small, sharp crimps, it helps build fuller-looking hair with a loose wave effect. This makes it useful for people who want more body, more shape, or a more styled look without needing advanced curling skills.
Why Use the Wavytalk Power Wave?
The Wavytalk Power Wave Hair Crimping Iron is designed for creating visible waves with less effort. It is especially useful if your hair looks flat after washing, loses shape quickly, or needs more texture before creating updos or ponytails.
Key styling benefits include:
- Volume: The wave pattern helps hair look fuller from root to end.
- Texture: Crimped waves give the hair more grip, which helps with ponytails, half-up styles, and braids.
- Speed: You can style larger sections compared with a small curling wand.
- Beginner-friendly use: The clamp-and-release motion is easier than wrapping hair around a curling iron.
- Flexible styling: You can create soft waves, defined waves, root lift, or bold editorial texture.
If you are comparing different hair heat tools, you can also read Wavytalk’s guide on what hair type you have before choosing the best temperature and styling method for your hair.
How to Prep Your Hair Before Styling
Good preparation makes the final result smoother, longer-lasting, and less likely to look frizzy. Before using any heat styling tool, your hair should be clean, dry, detangled, and protected.
1. Start with Completely Dry Hair
Do not use a crimping iron on wet or damp hair. Heat tools are designed for dry hair, and using them on wet hair can increase the risk of damage. If your hair is freshly washed, blow-dry it fully or let it air-dry before styling.
2. Apply Heat Protectant
Use a heat protectant spray or cream before styling. This helps create a protective layer between your hair and the heated plates. The American Academy of Dermatology recommends being careful with heat styling and limiting practices that can weaken or damage the hair over time.
3. Detangle First
Use a wide-tooth comb or detangling brush to remove knots. Smooth sections are easier to crimp evenly, and they create a cleaner wave pattern.
4. Section Your Hair
Divide your hair into workable sections. For fine hair, 3 to 4 sections may be enough. For thick or long hair, use more sections so the heat can reach each strand evenly. The Power Wave includes salon clips, which make sectioning easier.
How to Use the Power Wave Hair Crimping Iron
Step 1: Choose the Right Temperature
Start with a lower temperature if your hair is fine, fragile, bleached, or damaged. Use a higher temperature only if your hair is thick, coarse, or resistant to styling.
- Fine or fragile hair: Use a lower heat setting.
- Normal or medium hair: Use a medium heat setting.
- Thick or coarse hair: Use a higher setting if needed.
If you are unsure, start low and increase gradually. The goal is to create the wave with the least amount of heat possible.
Step 2: Take a Small Section
Take a section about 1 to 2 inches wide. Smaller sections create more defined waves. Larger sections create a softer, looser texture but may need more time.
Step 3: Clamp Near the Root
Place the crimping iron close to the root area, but do not touch your scalp. Clamp the section gently and hold for a few seconds. Avoid pressing too hard; the tool should shape the hair, not flatten it aggressively.
Step 4: Move Down the Hair
Release the clamp, move the tool down the same section, and press again. Try to line up each wave with the previous one so the pattern looks smooth and continuous.
Step 5: Repeat Section by Section
Continue around the head until all sections are styled. For a natural look, you can leave the top layer slightly softer and focus more texture through the mid-lengths and ends.
Step 6: Let the Waves Cool
Do not brush the waves immediately. Let the hair cool first so the shape can set. Once cool, you can use your fingers or a wide-tooth comb to soften the finish.
5 Hairstyles You Can Create with the Power Wave
1. Soft Mermaid Waves
This is one of the easiest styles to create with a hair crimping iron. Start near the upper mid-lengths and work down to the ends. Once the hair cools, lightly separate the waves with your fingers.
Best for: medium to long hair, vacation looks, beach-inspired styling, casual everyday volume.
2. Root Volume Lift
If your hair gets flat at the crown, use the Power Wave only on the underlayers near the roots. Lift a top section of hair, crimp the hidden root area underneath, then let the smooth top layer fall over it.
Best for: fine hair, flat roots, second-day hair, blowout refreshes.
3. Textured Ponytail
Crimp the full length of your hair, then gather it into a high or mid ponytail. The added texture makes the ponytail look thicker and more styled. You can wrap one small piece of hair around the elastic for a cleaner finish.
Best for: gym-to-dinner looks, casual styling, parties, thicker-looking ponytails.
4. Half-Up Volume Style
Crimp the lower sections of your hair first. Then pull the top half back into a clip, small bun, or half ponytail. The waves add volume below, while the top section keeps the style polished.
Best for: medium hair, long hair, date-night looks, soft glam styles.
5. Bold Statement Waves
For a stronger look, crimp from root to end and avoid brushing the waves out. This creates a more defined, sculpted texture. Add shine spray or light hairspray to finish.
Best for: photoshoots, festivals, parties, and editorial-inspired looks.
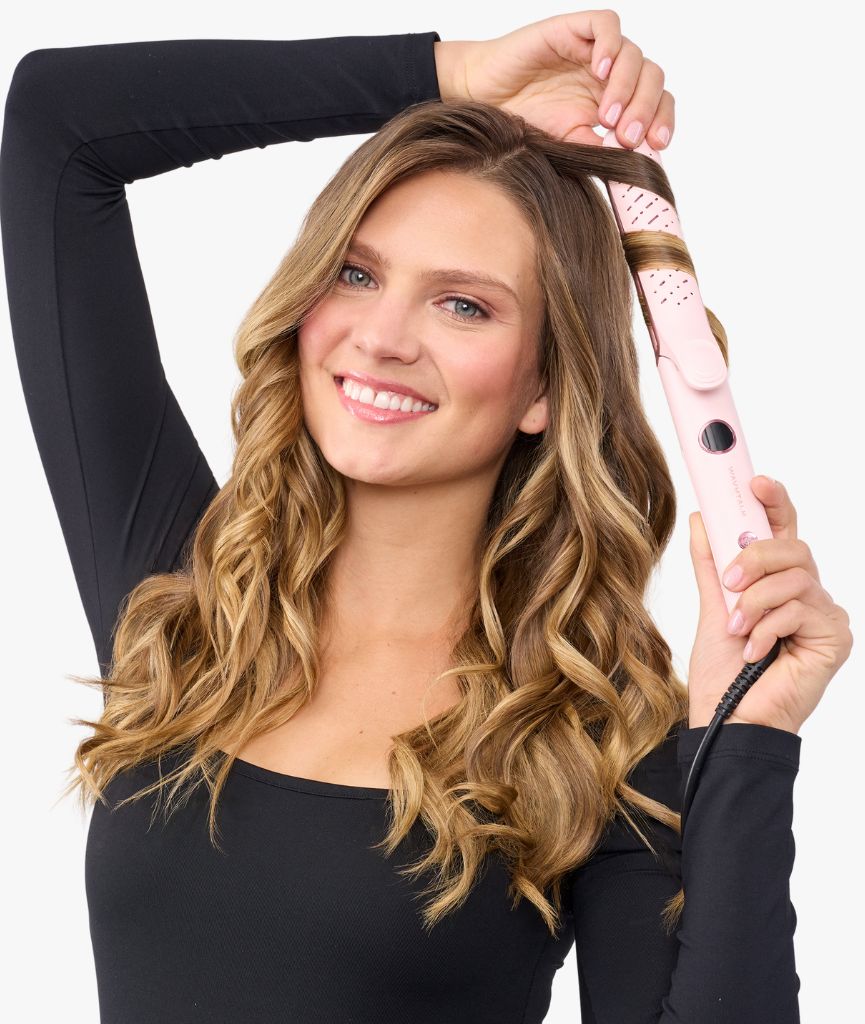
If you prefer curls instead of waves, you may also like Wavytalk’s 3/8 Inch Curling Wand for tighter, more defined curl patterns.
Styling Tips for Better Results
- Use small sections for definition: Smaller sections help the wave pattern show more clearly.
- Use larger sections for softness: Bigger sections create a looser, more relaxed finish.
- Do not over-clamp: Too much pressure can create harsh marks.
- Let hair cool before touching: This helps the style last longer.
- Use light hairspray: A flexible hold spray can keep waves in place without making them stiff.
- Brush only if you want softness: Brushing creates a fluffier, more lived-in look.
Common Mistakes to Avoid
Using the Tool on Damp Hair
This is one of the biggest mistakes. Always make sure your hair is completely dry before styling.
Using Too Much Heat
More heat does not always mean better results. If your hair waves easily, use a lower setting. Cleveland Clinic notes that reducing heat exposure can help protect hair from additional dryness and damage.
Selected too much hair at once
If you select too much or overly thick hair, the heat may not be able to conduct evenly to the inner strands. This can result in the wave texture appearing faint or uneven.
Skipping Heat Protectant
Heat protectant is especially important if you style your hair often. It helps reduce the direct impact of heat on the hair surface.
Brushing Too Soon
If you brush the waves before they cool, the style may fall flat faster. Let the hair cool first, then shape it gently.
How to Keep Hair Healthy When Heat Styling
A hair crimping iron can be part of your regular styling routine, but it should be used with proper care. Try not to use high heat every day, especially if your hair is color-treated, bleached, dry, or already damaged.
To support healthier-looking hair:
- Use heat protectant before every styling session.
- Choose the lowest effective temperature.
- Limit repeated passes on the same section.
- Use conditioner or hair masks regularly.
- Trim split ends when needed.
- Give your hair heat-free days between styling sessions.
Final Thoughts
The Wavytalk Power Wave Hair Crimping Iron is a useful tool for creating volume, texture, and soft sculpted waves with a simple clamp-and-release motion. It works well for mermaid waves, root lift, textured ponytails, half-up styles, and bolder statement looks.
For best results, start with dry, detangled hair, apply heat protectant, choose the right temperature, and work in controlled sections. Once the waves cool, you can leave them defined or brush them out for a softer finish.
If your goal is fuller-looking hair with easy styling control, the Wavytalk Power Wave Hair Crimping Iron is a strong choice for building modern waves and everyday volume.
FAQs
Can I use the Power Wave Hair Crimping Iron on short hair?
It works best on chin-length, medium, and longer hair. Very short or pixie-length hair may not be long enough to form a clear wave pattern.
Should I use a hair crimping iron on wet hair?
No. Always use the tool on completely dry hair. Using heat tools on damp hair can increase the risk of damage.
How long should I hold the crimping iron on each section?
A few seconds is usually enough. Fine hair typically needs less time, while thicker hair may need slightly longer. Avoid holding the tool too long on one section.
How do I make crimped waves look softer?
Let the waves cool first, then gently separate them with your fingers or a wide-tooth comb. You can also use larger sections when styling for a looser finish.
How do I create more volume at the roots?
Lift the top layer of hair and crimp the hidden underlayers close to the root. Let the smooth top layer fall over the textured section for a natural-looking lift.
Is a hair crimping iron good for fine hair?
Yes. It can help fine hair look fuller by adding wave structure and texture. Use a lower heat setting and avoid repeated passes.
What is the difference between a crimping iron and a curling iron?
A crimping iron creates waves and texture by pressing the hair. A curling iron creates curls by wrapping hair around a heated barrel.
How can I make the style last longer?
Use heat protectant before styling, let the waves cool, and finish with a light, flexible hairspray or texture spray.
WAVYTALK-LIMITED-TIME OFFER
Mid-Year Sale: Up to 48% Off Sitewide
Ready to upgrade your routine? Shop Wavytalks's best-selling hair and beauty tools during Mid-Year Sale and enjoy up to 48% off sitewide.
Plus, get free fast shipping on $25+ U.S. orders. It's the perfect time to save on your next styling essential.
Shop Now


Shop this article: