


Learning how to curl your hair with a straightener is one of those beauty skills that instantly makes your hot tool feel twice as useful. Instead of switching between a curling wand, round brush, and flat iron, you can create soft waves, polished curls, and effortless volume with one sleek styling tool.
The trick is all in the angle, the glide, and the size of each hair section. Once you understand how to rotate the straightener and move it smoothly through your hair, the technique becomes much easier than it looks. This guide breaks it down in a beginner-friendly way, with styling tips inspired by everyday Wavytalk hair tool users who want fast, pretty, wearable results.
Table of Contents
- Can You Really Curl Hair With a Straightener?
- What You Need Before You Start
- How to Prep Your Hair
- How to Curl Your Hair With a Straightener Step by Step
- Different Curl Styles You Can Create
- Best Heat Settings by Hair Type
- Common Mistakes to Avoid
- How to Make Straightener Curls Last Longer
- FAQ
Can You Really Curl Hair With a Straightener?
Yes, you can absolutely curl your hair with a straightener. In fact, a flat iron can create some of the most modern-looking curls because it gives you more control over bend, direction, and finish. You can create beach waves, bouncy waves, tight curls, and so on.
A straightener works for curling because the hair wraps around the heated plates as you rotate the tool. When you glide the iron downward, the heat sets the shape into the hair. The result depends on how tightly you rotate the straightener, how fast you move, and how large your sections are.
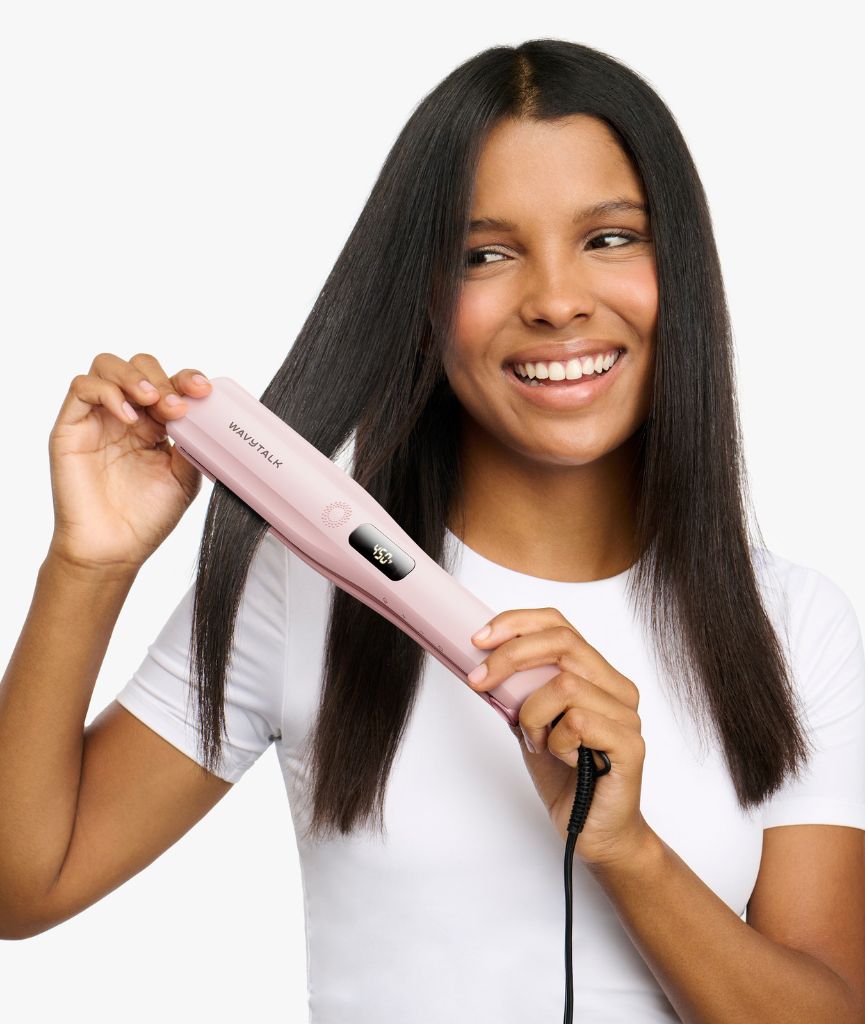
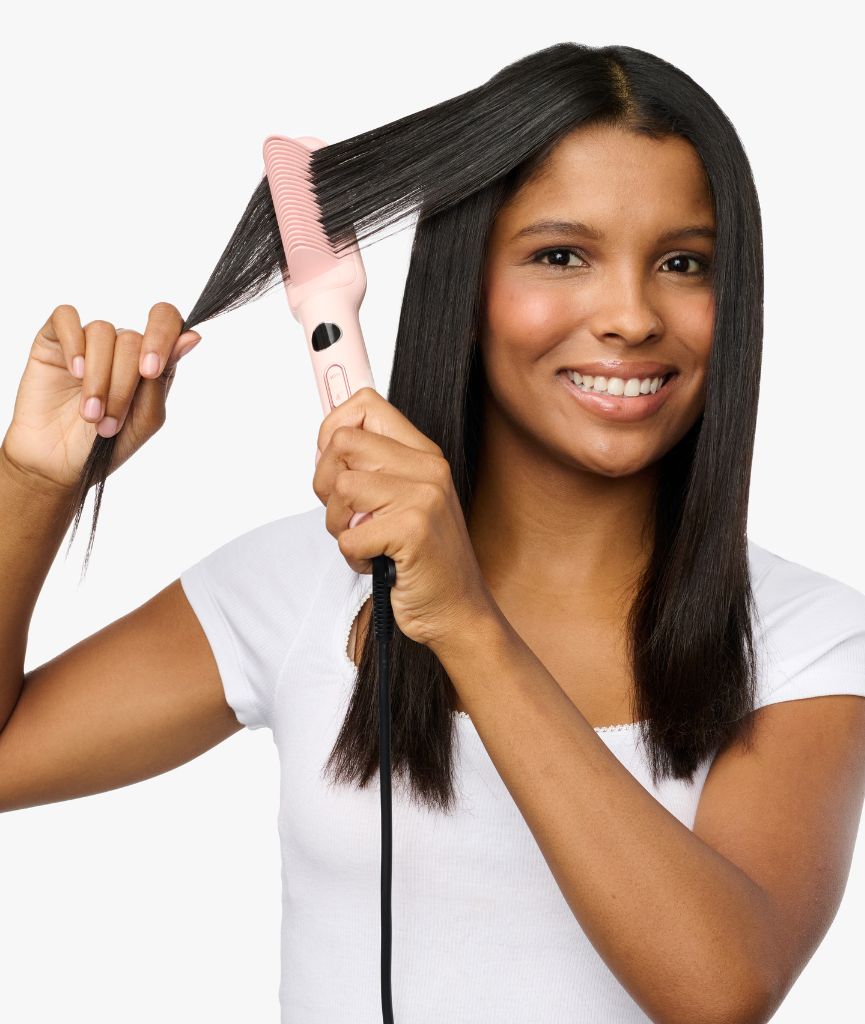
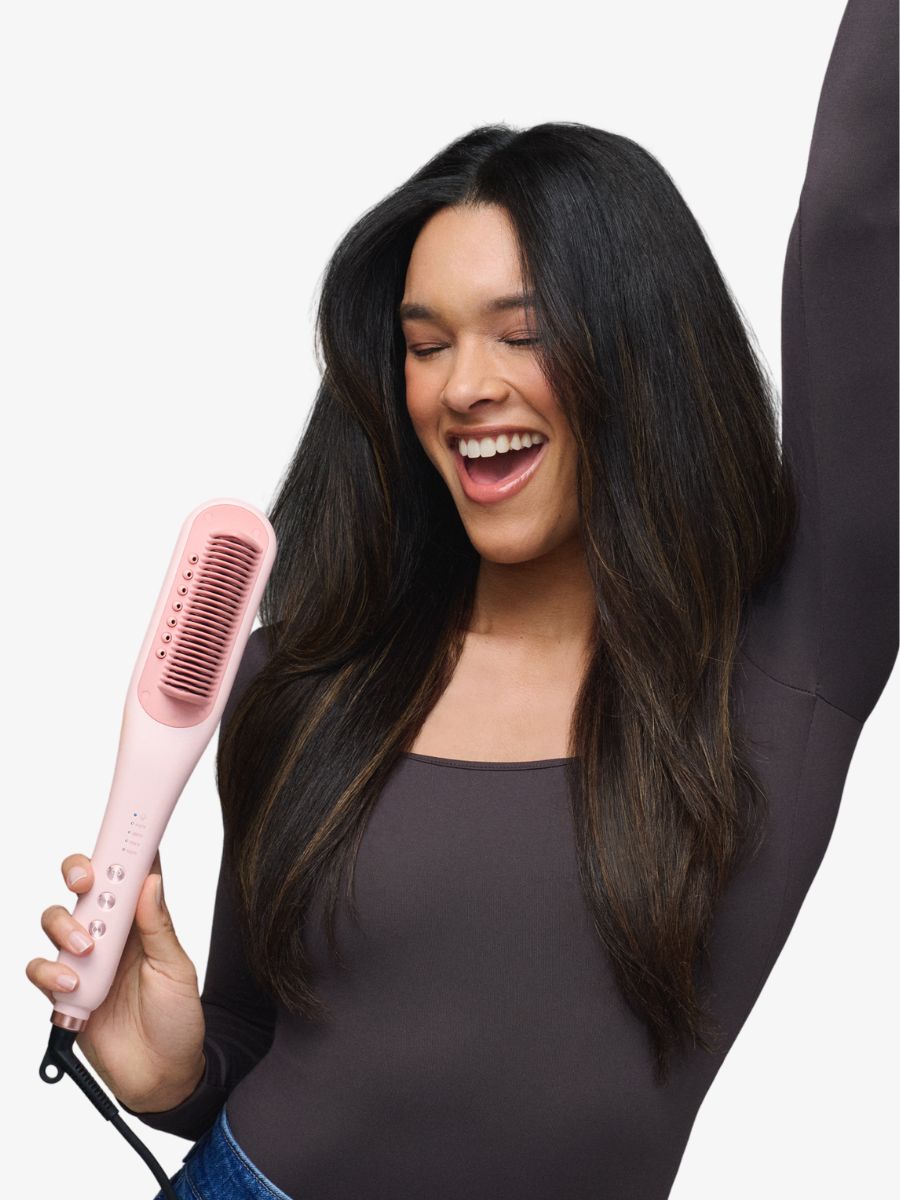
For the easiest styling experience, use a straightener with smooth plates, rounded edges, adjustable temperature settings, and a comfortable grip. Wavytalk offers hair straighteners and styling tools designed for sleek everyday styling, which makes them a practical option for creating both straight styles and soft waves.
What You Need Before You Start
Before you start curling, make sure you have the essentials ready. Good prep is the difference between soft, effortless curls and one side mysteriously flipping outward for no reason.
- A straightener with rounded edges
- Heat protectant spray
- Hair clips for sectioning
- A wide-tooth comb or detangling brush
- Lightweight hairspray or texture spray
- Finishing serum or shine spray, optional


The one thing you should never skip? Heat protectant. Flat irons can reach temperatures above 200°C, and a published study have shown that repeated high heat can damage hair keratin over time. A protective product before styling can make a big difference in helping reduce heat stress and keeping hair looking healthier.
How to Prep Your Hair for Straightener Curls
First rule: your hair needs to be completely dry. Straighteners are made for dry styling unless the tool specifically says otherwise. If your hair is freshly washed, blow-dry it first or let it fully air-dry before curling—because sizzling sounds should come from fajitas, not your hair.
Next, brush through your hair from ends to roots to remove knots and tangles. Smooth hair glides through the straightener much more evenly, helping prevent snags, creases, or random bent pieces.
Then apply your heat protectant from mid-lengths to ends, including the underneath sections that people usually forget about.


If your hair is super silky or your curls disappear by lunchtime, add a little texture spray or styling mousse before drying. Slightly lived-in hair usually holds curls better than ultra-fresh hair, which is why second-day hair can secretly be the MVP for this style.
How to Curl Your Hair With a Straightener Step by Step
Now for the main technique. Take your time with the first few sections. Once your wrist gets used to the motion, curling with a straightener becomes much faster.
Step 1: Section Your Hair
Divide your hair into two to four sections depending on thickness. Clip the top layers up and begin with the bottom section. Working in layers gives you more control and prevents missed pieces.
For loose waves, take sections that are about one to two inches wide. For tighter curls, use smaller sections. If the section is too large, the heat will not distribute evenly and the curl may fall flat.
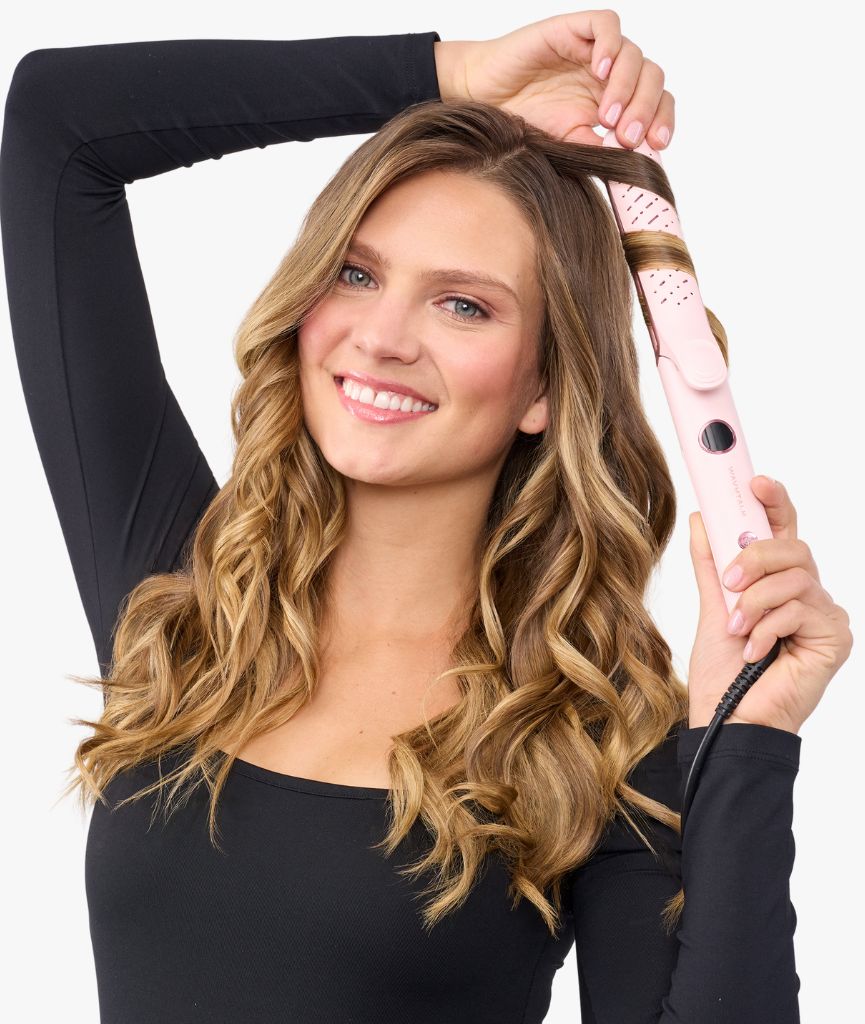
Step 2: Hold the Straightener Vertically
Clamp the straightener near the roots of your first section, leaving a little space from the scalp. Hold the tool vertically with the tip pointing downward. This angle helps create a longer, softer curl instead of a tight ringlet.

For front pieces, curl away from your face. This opens up your features and creates that polished salon-style frame around your cheekbones.
Step 3: Rotate the Straightener
After clamping the hair, rotate the straightener 180 degrees away from your face. Think of it like turning a key or twisting a ribbon. The hair should wrap around the outside of the iron as you turn.

If you want a looser wave, rotate only slightly. If you want a more defined curl, rotate a little more and move more slowly.
Step 4: Glide Slowly Down the Hair
Once the straightener is rotated, glide it down toward the ends in one smooth movement. Do not stop halfway, because pausing can create dents. Keep light, even tension on the hair and let the iron move continuously.

The slower you glide, the more defined the curl will be. The faster you glide, the looser and more relaxed the wave will look.
Step 5: Let the Curl Cool
After each curl forms, let it cool before touching it. This is one of the biggest secrets to longer-lasting straightener curls. Hair sets as it cools, so bruhing or pulling the curl too soon can make it drop.
Step 6: Repeat and Alternate Directions
Continue curling section by section. Around the face, curl away from your features. In the back, alternate directions for a more natural, textured look. If every curl goes the same way, they may clump together into one large wave.
Step 7: Shake Out and Finish
Once all curls are completely cool, gently separate them with your fingers. For soft volume, flip your head upside down and lightly shake the roots. Finish with a flexible-hold hairspray or texture spray.
Different Curl Styles You Can Create With a Straightener
One of the best things about learning how to curl hair with a straightener is that you can create multiple looks with the same tool. Small technique changes make a big difference.
| Curl Style | How to Create It | Best For |
|---|---|---|
| Loose Beach Waves | Use larger sections, rotate lightly, glide quickly, and leave the ends straight. | Everyday styling, casual looks, medium to long hair |
| Soft Glam Curls | Use medium sections, curl away from the face, and brush out after cooling. | Date nights, events, polished hairstyles |
| Defined Curls | Use smaller sections, rotate more fully, and glide slowly. | Long-lasting curl definition and thicker hair |
| Face-Framing Bends | Clamp near cheekbone level, rotate away from the face, and release quickly. | Curtain bangs, layers, quick touch-ups |
| Flipped Ends | Glide the straightener down and flick the wrist outward at the ends. | Bobs, lobs, layered cuts, sleek styles |
Best Heat Settings by Hair Type
The right temperature depends on your hair type, texture, and condition. As a general rule, start lower and increase only if needed. Using more heat than your hair requires will not always make curls better; it can simply increase the risk of dryness, frizz, and breakage.
| Hair Type | Suggested Heat Range | Styling Tip |
|---|---|---|
| Fine or fragile hair | Low heat: 280-320°F | Use small sections and avoid repeated passes. |
| Color-treated hair | Low to medium heat: 280-320°F | Always use heat protectant and keep the glide smooth. |
| Medium hair | Medium heat: 280-360°F | Use one-inch sections for balanced waves. |
| Thick or coarse hair | Medium to higher heat: 320-390°F | Work in smaller sections for better hold. |
| Damaged or over-processed hair | Lowest effective heat: 280°F | Limit hot tool use and focus on conditioning care. |
If your straightener has adjustable heat settings, that is a major advantage. It lets you customize your styling based on what your hair actually needs instead of using maximum heat every time.

Common Mistakes to Avoid When Curling With a Straightener
-
Clamping Too Hard:
A tight clamp can leave dents and make it harder for the iron to glide. Use gentle pressure and keep the tool moving. -
Moving Too Fast:
If your curls are barely showing up, you may be gliding too quickly. Slow down slightly, especially through the mid-lengths. -
Using Sections That Are Too Big:
Large sections may look faster, but they often create weak curls. Smaller sections give you more control and longer-lasting shape. -
Touching the Curls Too Soon:
Let each curl cool before brushing, combing, or separating. This helps lock in the shape. -
Skipping Heat Protectant:
Heat protectant is not optional if you use hot tools regularly. It helps reduce the stress caused by heat styling and keeps hair looking smoother over time. -
Curling Every Piece in the Same Direction:
This can make curls merge together. Alternate directions through the back and sides for a more natural finish.
How to Make Straightener Curls Last Longer
If your curls fall quickly, a few small changes can make a big difference. Start with fully dry hair and avoid heavy conditioners or oils right before styling. Too much softness or slip can make curls drop faster.
Use a lightweight styling spray before curling if your hair needs extra grip. After curling, let everything cool completely. Then separate with your fingers instead of brushing aggressively. Finish with flexible hairspray, focusing on the mid-lengths and ends rather than soaking the roots.
For an overnight hold, loosely twist your hair into a soft bun or use a silk scrunchie. In the morning, refresh face-framing pieces with your straightener and add a little texture spray if needed.
Why Use a Wavytalk Straightener for Curls?
A good straightener should feel easy to control, glide smoothly, and offer enough styling flexibility for both sleek looks and waves. Wavytalk hair tools are designed for everyday styling, making them a great fit for people who want salon-inspired hair without a complicated routine.
When choosing a straightener for curls, look for smooth plates, rounded edges, and adjustable temperature settings. These features help you create softer bends, avoid harsh creases, and style according to your hair type.
If you want a tool that can handle both straight styles and curls more easily, the Wavytalk Whirlwind Curl Airflow Styler and Straightener is especially worth checking out. Its airflow design helps style and smooth hair at the same time, making it easier to create soft curls and polished finishes with less effort.

You can explore Wavytalk styling tools here: Wavytalk Hair Tools and Wavytalk Hair Straighteners.
FAQ: How to Curl Your Hair With a Straightener
Can you curl your hair with any straightener?
You can curl with many straighteners, but the best option has rounded edges, smooth plates, and adjustable heat settings. A straightener with sharp, boxy edges may create creases instead of soft curls.
Is curling with a straightener hard for beginners?
It can feel awkward at first, but the technique becomes easier with practice. Start with small sections, curl away from your face, and focus on one smooth rotate-and-glide motion.
Why do I get dents when curling with a straightener?
Dents usually happen when you clamp too tightly, pause too long, or hold the iron at an awkward angle. Keep your grip gentle and glide continuously.
How do I get beach waves with a straightener?
Use larger sections, rotate the straightener lightly, glide quickly, and leave the ends a little straight. Once the curls cool, separate them with your fingers and finish with texture spray.
Should I curl toward or away from my face?
Curl the front pieces away from your face for the most flattering look. In the back, alternate directions for a natural-looking texture.
How do I stop my straightener curls from falling?
Use smaller sections, let curls cool before touching them, and finish with a flexible-hold spray. If your hair is very smooth, use a texture spray before curling for extra grip.
Can I curl short hair with a straightener?
Yes. For short hair, use smaller sections and focus on bends rather than full curls. A quick wrist flick can create soft movement, flipped ends, or piecey texture.
How often can I curl my hair with a straightener?
That depends on your hair condition and routine. To reduce heat stress, avoid using hot tools every day when possible, use heat protectant, and keep the temperature as low as your hair allows while still holding the style.
Conclusion
Once you learn how to curl your hair with a straightener, your flat iron becomes one of the most versatile tools in your routine. With the right prep, a smooth rotate-and-glide technique, and a few finishing tricks, you can create soft waves, glam curls, flipped ends, and everyday volume without needing a separate curling wand.
For the prettiest results, remember the basics: work in sections, curl front pieces away from your face, let curls cool before touching them, and always protect your hair from heat. Whether you are getting ready for a casual day out or a full glam moment, a Wavytalk straightener can help you create effortless, trendy curls at home.
WAVYTALK-LIMITED-TIME OFFER
Mid-Year Sale: Up to 48% Off Sitewide
Ready to upgrade your routine? Shop Wavytalks's best-selling hair and beauty tools during Mid-Year Sale and enjoy up to 48% off sitewide.
Plus, get free fast shipping on $25+ U.S. orders. It's the perfect time to save on your next styling essential.
Shop Now